O que é JBoss? O JBoss é um poderoso servidor de aplicativos Java de código aberto desenvolvido pela RedHat. Ele tem suporte total para o WebProfile JavaEE 6, o que significa que você tem o seguinte fora da caixa de apoio:
- Servlet 3.0
- JSF
- Java Server Faces
- EJB
- JPA
- CDI
- Bean Validation
Além disso, há também suporte para outros recursos JavaEE como JMS, JAX-RS e JAX-WS. Mais documentação pode ser encontrada aqui. Etapa 1 - Instalar o Java Primeiro você tem que verificar se você instalou o java em seu VPS.
java -version
Quando você começa o seguinte erro você tem que instalá-lo.
-bash: java: command not found
Install Java.
apt-get update
apt-get install openjdk-7-jdk
Passo Dois - Instalar o JBoss O próximo passo é baixar a versão atual do JBoss, que está no momento 7.1.1.
wget http://download.jboss.org/jbossas/7.1/jboss-as-7.1.1.Final/jboss-as-7.1.1.Final.tar.gz
Now unzip it and move it to /usr/local/share/jboss.
tar xfvz jboss-as-7.1.1.Final.tar.gz
mv jboss-as-7.1.1.Final /usr/local/share/jboss
Step Three—Create a New User
Because we don't want to run it as root you should create a new user which is used to start the JBoss server.
adduser appserver
Also change the ownership of the newly created folder to the new user.
chown -R appserver /usr/local/share/jboss
The next step will be creating a new user for the JBoss management console.
su appserver
cd /usr/local/share/jboss/bin
./add-user.sh
Now you should create a new Management User by typing "a" and enter later username and password
What type of user do you wish to add?
 a) Management User (mgmt-users.properties)
 b) Application User (application-users.properties)
(a): a

Enter the details of the new user to add.
Realm (ManagementRealm) :
Username : app1
Password :
Re-enter Password :
It is really important that the Realm has the value "ManagementRealm" because this is the realm for the management console.
Step Four—Start the JBoss Server
After this steps you can start the JBoss server using the following command.
./standalone.sh -Djboss.bind.address=yourserverip -Djboss.bind.address.management=yourserverip&
You have to set the bind address because otherwise JBoss is only accessable from localhost. You can also set as IP address 0.0.0.0 if you have no static IP.
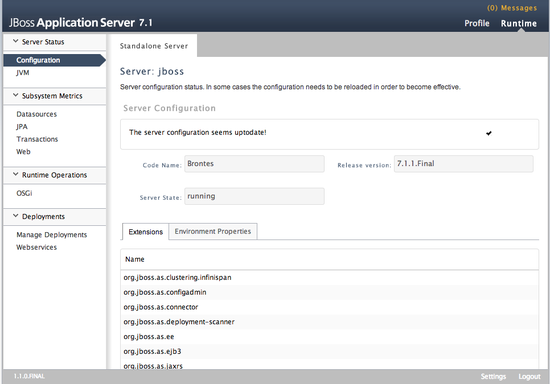
To verify if everything works you can navigate to the management console.
http://yourserverip:9990/console
You have to enter username and password of the user you created using add-user.sh.
You should see the following site now:

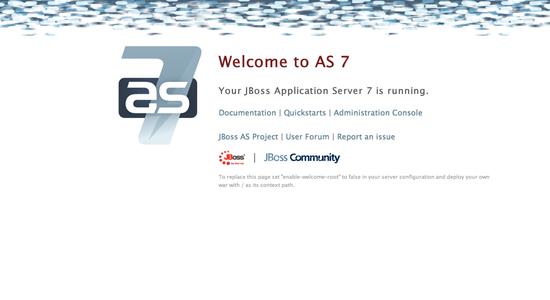
To enter the deployed root web page you have to navigate to the following url.
http://yourserverip:8080/
You should see the following site now:

To stop the server you have to run the following command.
./jboss-cli.sh --connect --controller=yourserverip:9999 command=:shutdown


Social